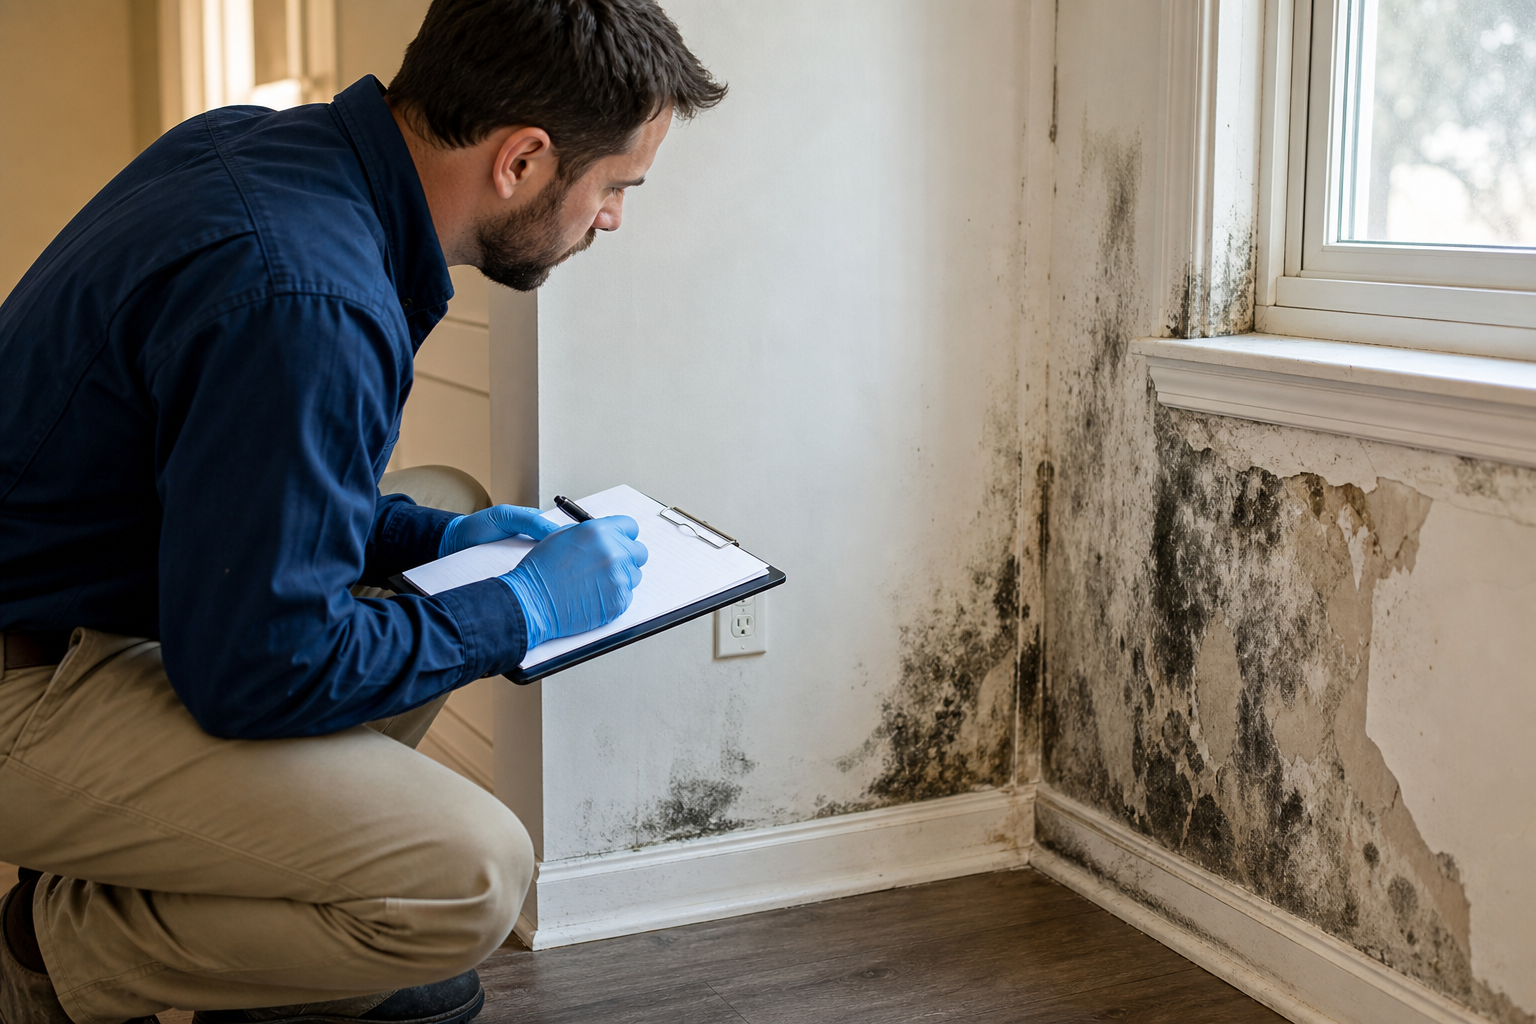
This mold inspection checklist gives Ontario homeowners, buyers, sellers and real estate agents seven concrete items to inspect during a walkthrough, plus documentation steps you can use in a file or a report. Each item explains what to look for, how to photograph and record evidence, quick safe actions you can take, and the decision rule for calling a certified remediation professional.
1. Visible mold, staining and musty odours: what to inspect first
Start where mold is visible or where occupants report a musty smell. Typical locations include ceilings, baseboards, window sills, under sinks, around shower enclosures, and attic framing. When you find a suspect area, follow these three steps immediately.
How to photograph evidence that holds up
- Take three angles: a wide shot showing the room and context, a medium shot showing the affected surface, and a close up of the growth. Include a dated ruler or a phone timestamp in at least one close up.
- Label each photo with room name, fixture or reference, date and time. Store images in a folder named with the property address and inspection date.
- Record odour intensity and location, for example: "musty odour strongest at north wall, near heating register, detected at 10:14 a.m."
Notes to record with each photo
Write a one line note for each photographed finding stating the exact location, nearby moisture sources, and any occupant symptoms linked to the area. Avoid touching or disturbing the growth because disturbing mold can release spores into the air. Concentrated musty odours and visible staining are common early indicators of hidden mould and should be documented carefully (Mold in Walls: detect, remove & keep it out).
2. Moisture sources and water damage signs: trace the cause, not just the spot
Mold follows moisture. During the inspection, look for probable moisture sources such as roof leaks or flashing failures in attics, plumbing drips under kitchens and bathrooms, basement seepage at the floor wall junction, and condensation on cold pipes or windows. Record any water stains, peeling paint or warped materials near these sources.
Where to take moisture readings and what they mean
- Use a pocket moisture meter on wood framing, subfloor and drywall edges. Note the device model, exact probe location, and the reading. If you do not own a meter, mark the area for testing by a professional.
- Measure relative humidity in problem rooms with a hygrometer and note the time of day. Persistently high indoor humidity is a known risk factor for mold growth.
Quick thermal imaging flags to mention to a pro
If you have access to a thermal camera, flag cold or wet spots that do not match surrounding surfaces, because thermal anomalies often reveal hidden leaks and moisture pathways. For general guidance on moisture assessment and prevention, see Health Canada recommendations on addressing moisture and mould indoors (Health Canada).
3. Hidden cavity indicators: how to spot mold behind walls, ceilings and insulation
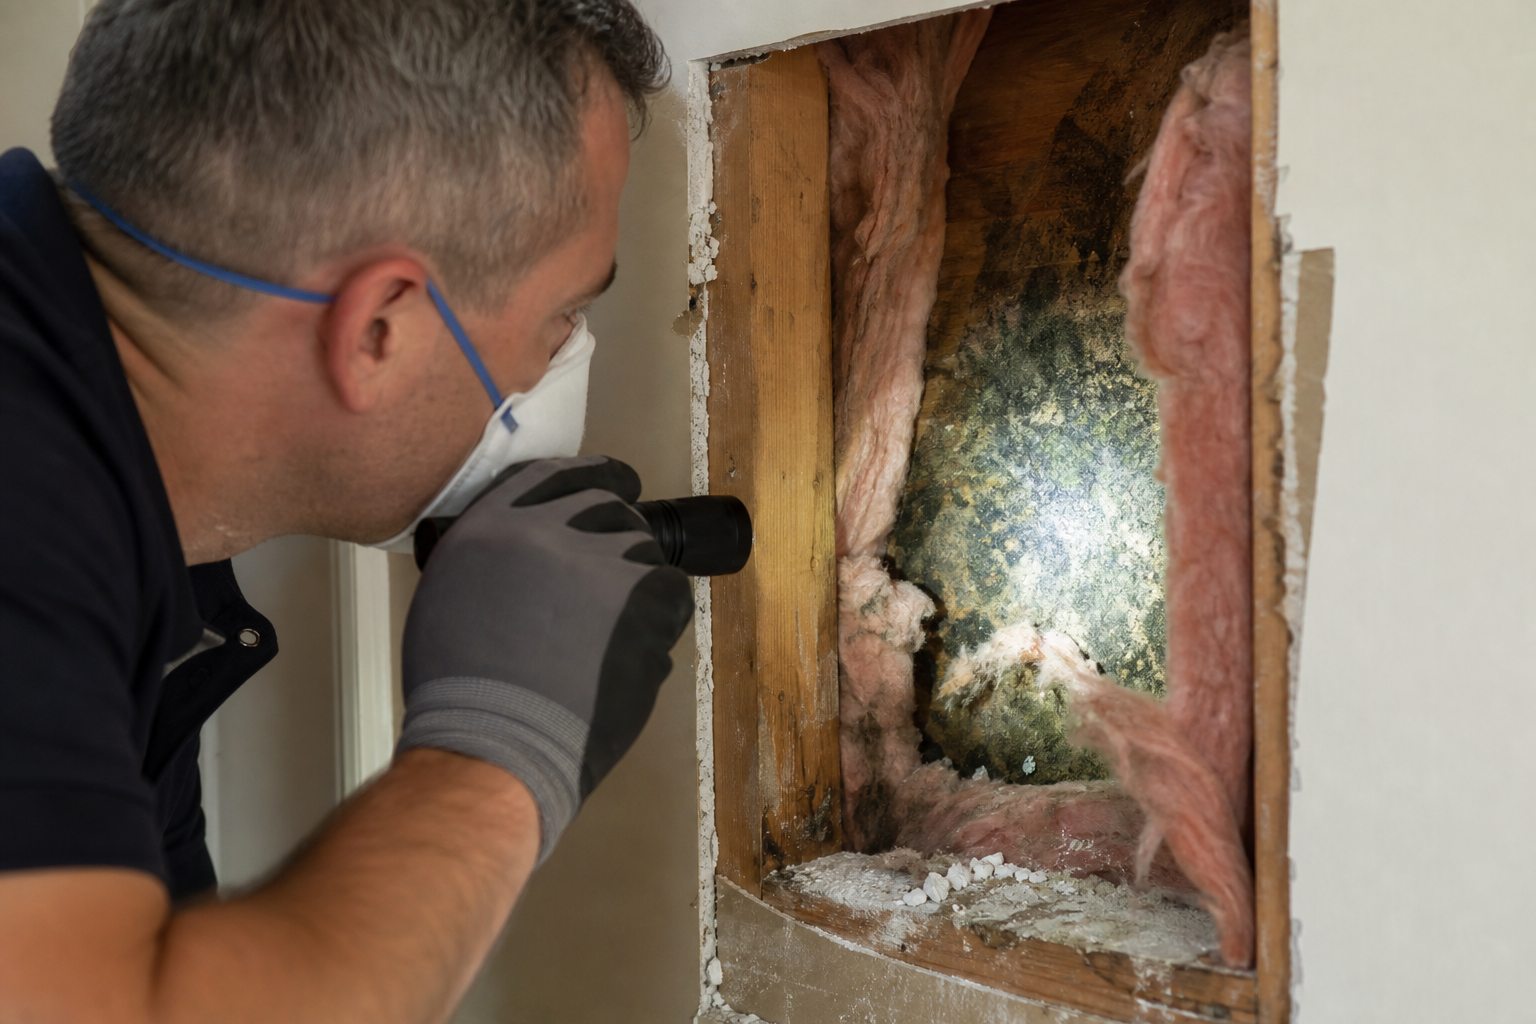
Hidden mold lives inside wall cavities and roof assemblies. Inspectors repeatedly find the same signals when concealed mold exists. Prioritise the following six signs during your walkthrough and record where you observe them.
Six consistent signals to note
- Musty odour concentrated to a single room.
- Dark staining or water staining that bleeds through paint.
- Bubbling, peeling or flaking paint in a single area.
- Warped, soft or discoloured drywall or plaster.
- Visible mold near outlets, baseboards or behind trim.
- Occupant allergy symptoms that appear only in one room.
These indicators are commonly used in Canadian inspections to justify opening an inspection port or ordering further testing. If you record one or more of these signals, plan a targeted follow up with moisture testing or a professional inspection (Mold in Walls).
Where to open an inspection port or ask a pro to open one
Do not cut into a wall unless you are competent and wearing protective equipment. Instead, mark the exact location on your photo log and ask a professional to open a small inspection port for cavity inspection and sampling if needed.
4. HVAC, ducts and vents: why these systems matter and what to log
HVAC systems can spread spores and odours throughout a home. Check registers and supply grills for black deposits, run the system briefly and note whether a musty smell follows, and inspect visible duct joints in attics and basements for wet insulation or air leaks.
Simple register checks you can do
- Shine a flashlight into registers and take a close up photo of any dark deposits or staining.
- Turn the fan to on and note whether dust or odour is pulled into living spaces from a specific register.
- Record whether return grills are dirty in a pattern that suggests attic air infiltration.
When HVAC involvement means professional cleaning and containment
If you see visible deposits inside ducts, suspect that contaminated HVAC components may move spores around the home. Systems suspected of contamination should be evaluated and cleaned by technicians who use HEPA filtration and containment to avoid cross contamination. Industry checklists recommend professional intervention for system level contamination (inspection checklist guidance).
5. Attic priorities for Ontario homes: insulation, ventilation and roof leak evidence
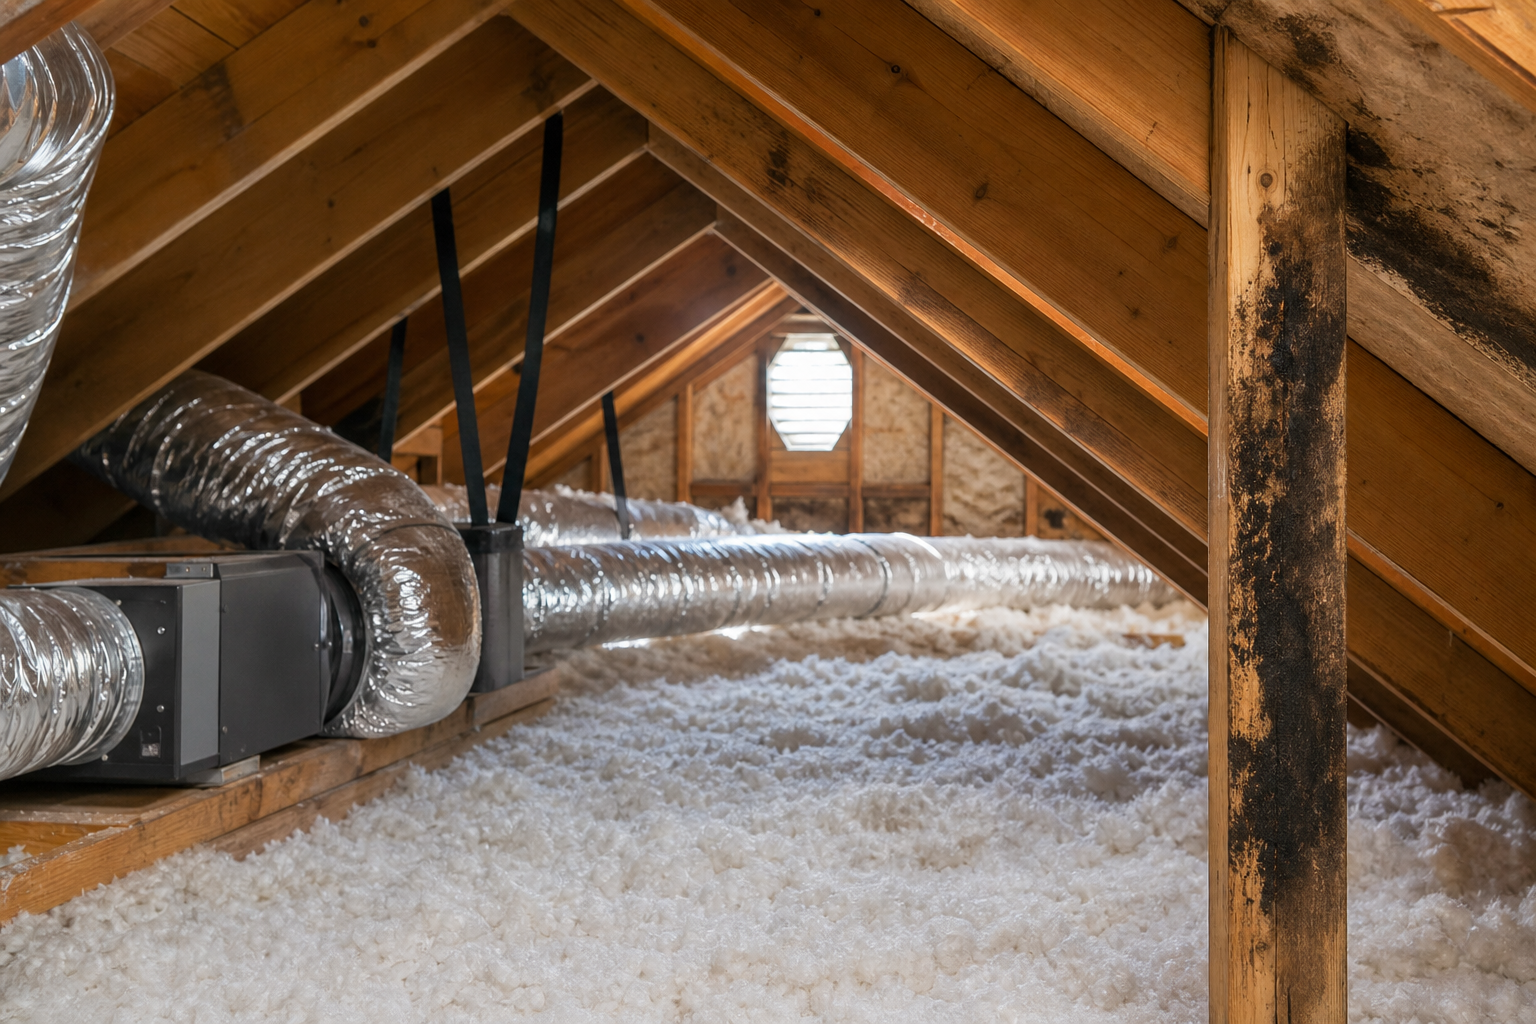
Attics are a common source of recurring mold in Ontario because roof leaks, missing ventilation, and compromised insulation create conditions conducive to growth. During attic access, document the condition of insulation, look for dark staining on rafters and sheathing, check soffit and ridge ventilation paths, and note any signs of roof leakage or ice dam staining.
How to document insulation removal areas
- Photograph wet, compacted or stained insulation in place with a wide context shot and close up images showing the affected area.
- Estimate and mark the approximate square metres of insulation to be removed and include photos of attic access and the eaves to show ventilation status.
What to look for in attic ventilation paths
Blocked soffit vents and missing baffles are common causes of trapped moisture. If you identify blocked vents, record their locations and take photos of the blockage so a remediation plan can show ventilation repairs as part of the solution. ASM Mold Removal lists attics as a core service area and provides attic remediation and insulation replacement as part of full repair and restoration (ASM Mold Removal).
6. Documenting findings that hold up for remediation or a real estate transaction
Good documentation is the difference between a useful inspection and a report that fails to support remediation or a property sale. Use a consistent file format and capture the following for every concern you log.
Sample photo and moisture log template
- Property address and inspection date at the top of every file.
- Finding ID number, room name, exact location, and short description of the issue.
- Three photos per finding: wide, medium, close up. Include a dated ruler in one close up.
- Moisture meter reading or hygrometer reading with device model and probe location recorded.
- Occupant notes and symptom dates, plus any visible repair or maintenance history provided by the owner.
- Recommended next steps and whether a professional inspection, sampling or immediate containment is required.
Field checklists advise photographing each finding, recording moisture readings and keeping an organized log to support remediation decisions and reporting (inspection checklist guidance). If sampling is needed, note that air and surface sampling require laboratory analysis and should be requested from a qualified inspector.
7. Decision criteria: when to call a certified Ontario remediation professional
Use these clear rules to decide when to stop DIY work and call a certified remediation company.
- Visible mold covers a large area or repeated spots appear in multiple rooms, or you cannot identify the moisture source.
- HVAC systems, structural framing or insulation are involved, or mold is suspected inside wall or ceiling cavities.
- Occupants report unexplained health symptoms that change when away from the home, or you have vulnerable occupants such as the elderly, infants or immunocompromised people.
- You need documented clearance for a real estate transaction or you require a post remediation inspection by an independent third party, which Health Canada notes may be needed to verify effective removal (Health Canada).
If any of the rules above apply, contact a certified and insured remediation provider. ASM Mold Removal offers Ontario wide same day response for urgent mold issues, free inspections and moisture assessments, attic remediation expertise, HEPA filtration and containment during remediation, and full repair and restoration services plus a Mold Remediation Warranty Certificate after completion and inspection (ASM Mold Removal).
Frequently asked questions
Can I safely inspect for mold myself or should I hire a professional?
You can perform an initial visual inspection and document findings with photos and moisture logs. Do not disturb large or suspect areas. Hire a professional when HVAC systems, structural framing or hidden cavities are involved, or when occupants have health vulnerabilities. Health Canada recommends professional help for larger or complex problems (Health Canada).
What should a free mold inspection include and what documentation will I get?
A quality free inspection should include a visual walkthrough, moisture assessment, photographed findings, and a written scope of recommended next steps. If a remediation company quotes work, request a written plan and ask about post remediation documentation such as a warranty or clearance report. ASM Mold Removal provides free inspections and moisture assessments as a first step (ASM Mold Removal).
When is post remediation clearance testing necessary in Ontario?
Post remediation clearance testing can be necessary when a buyer, seller or property manager requires independent verification that active mold was removed, or when complex HVAC and structural work was performed. Health Canada notes that a post remediation inspection by an independent third party may be needed to confirm effective removal (Health Canada).
Can I use bleach or household cleaners to remove mold safely?
Small, non porous surfaces with limited mold may be cleaned with household products following safety guidance, but bleach and cleaners can be ineffective on porous materials and do not fix moisture sources. For large areas, contaminated insulation, or mold in wall cavities, hire a remediation professional who uses safe removal practices, HEPA filtration and containment.
What evidence should buyers and sellers collect so a remediation report is accepted in a real estate transaction?
Collect dated photos, the moisture log, a remediation scope and invoice, and any post remediation report or clearance certificate. An independent post remediation inspection or laboratory clearance report can strengthen buyer confidence. Keep all documents organized and labelled for the file.
Key takeaway: use this seven point checklist to document concerns precisely, and escalate to a certified remediation company when structural systems or HVAC are involved, when the moisture source is unknown, or when you need independent clearance for a sale.
For Ontario homeowners who need same day inspections, attic remediation expertise, HEPA containment, full repair and a Mold Remediation Warranty Certificate, contact Asmmoldremoval for a free inspection and moisture assessment.


